
alright, internet, i'm back. we had some wintry fun in nyc at last with storm jonas a couple weeks back, which gave me the opportunity to make myself some studded tires and roll happily around the almost car free city for a couple of days:
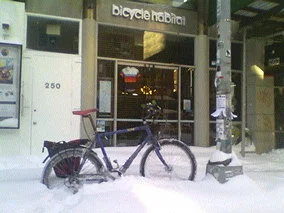
monster commuter in the snow
i have also made quite a bit of progress on emily's frame build. we have reached the point where i do the seat stays, which are a visually central point of the frame. my first thought was to do something like what ritchey used to do with some of his chain stays:

man am i a sucker for these older ritchey frames
my process was to miter one chain stay to the frame, and then miter the other stay to that stay, tinned in place, and then to the frame on the other side, making a overlapping section that i could file smooth. here is how it came out:
there was still some filing to do, obviously, but it was going to be sleek, understated, and a nice little reference to one of my favorite frame builders. however, i ran into clearance problems down at the disc brake side of things.
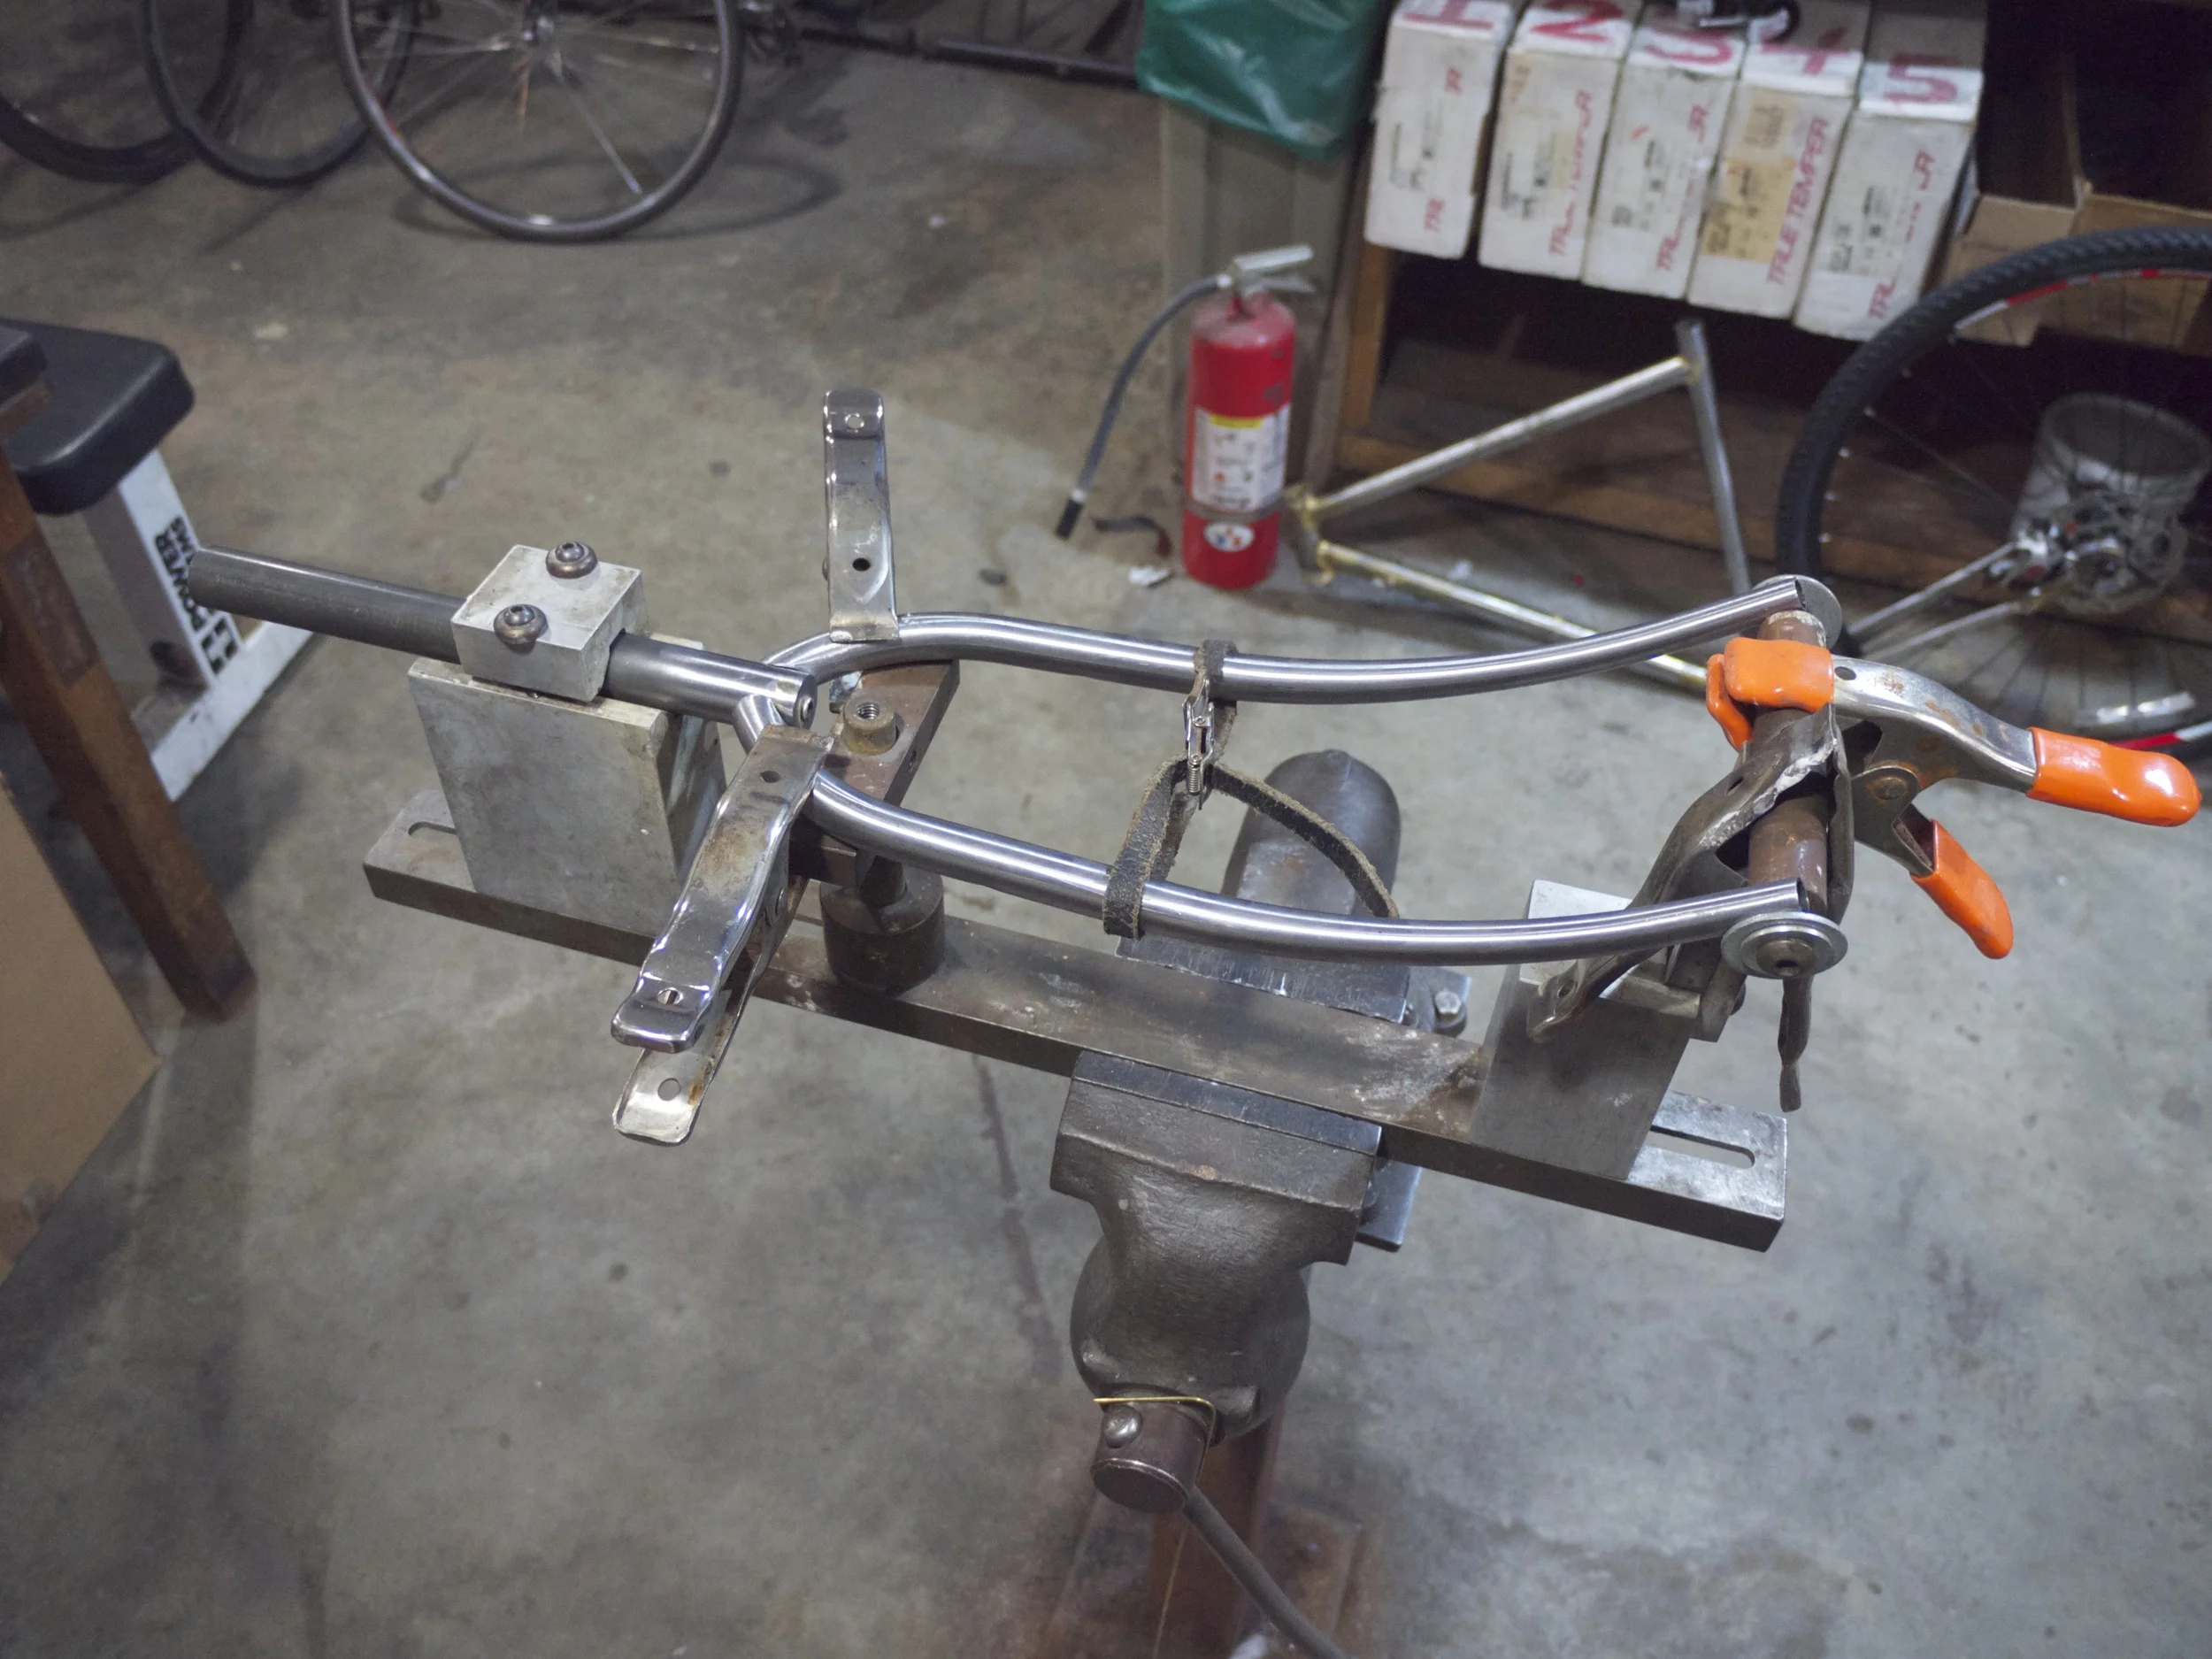
at the time i thought that i could sneak the caliper and adapter in, possibly by filing a relief into the seat stay and capping it to make extra room. however, after bolting up an adapter it became clear that there wasn't going to be enough space. the issue stems from the dimensions of the dropout, which does not extend so far upwards, with this bb drop, to clear a disc brake caliper. in order to get around the caliper, i ended up ordering a set of mtb wishbone stays and bending them on the fork bender (many thanks to lance of squarebuilt for this trick):
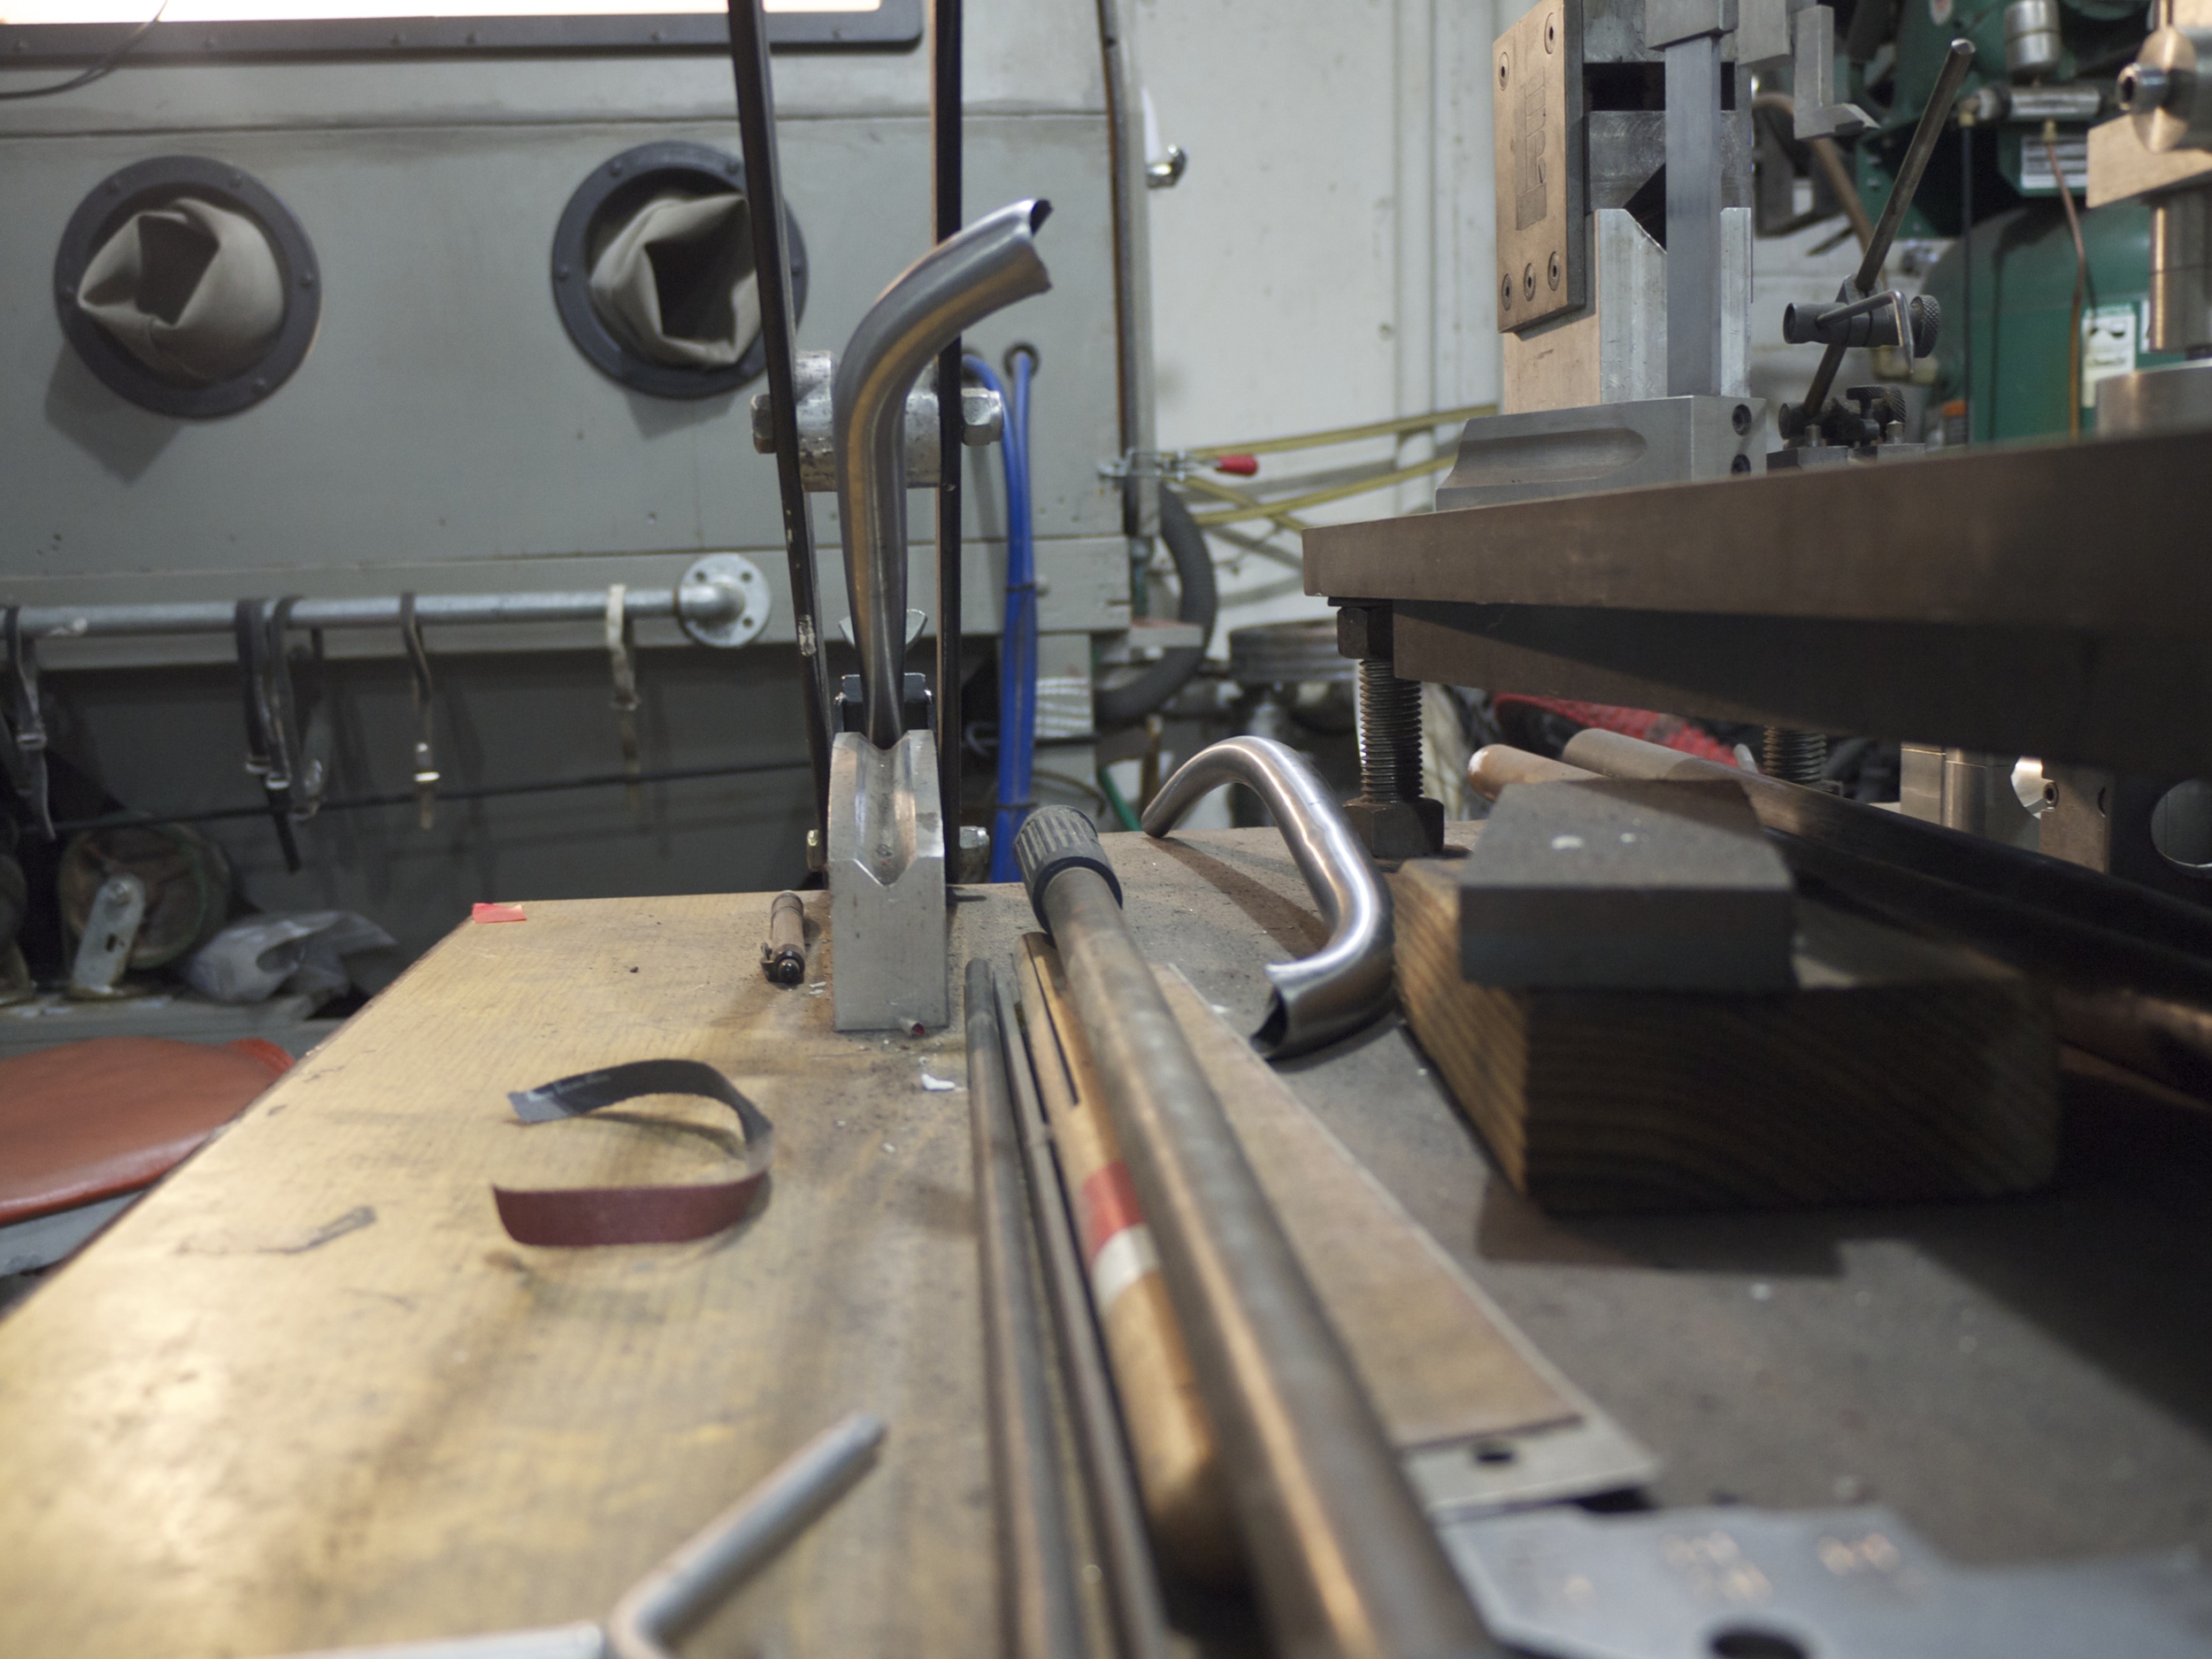
the completed first stay is on the right side of the photo, and i am about to bend the other stay to match. the tight radius curve in the stay comes that way, and then it is mitered to a single central piece of tubing to connect to the seat tube. once i had the bends matched, i put it all together in the fork jig to braze together as a subassembly.
i used the 137 mm dummy axle to locate the ends of the stays at the correct width for the rear dropouts and then clamped everything together in the jig.
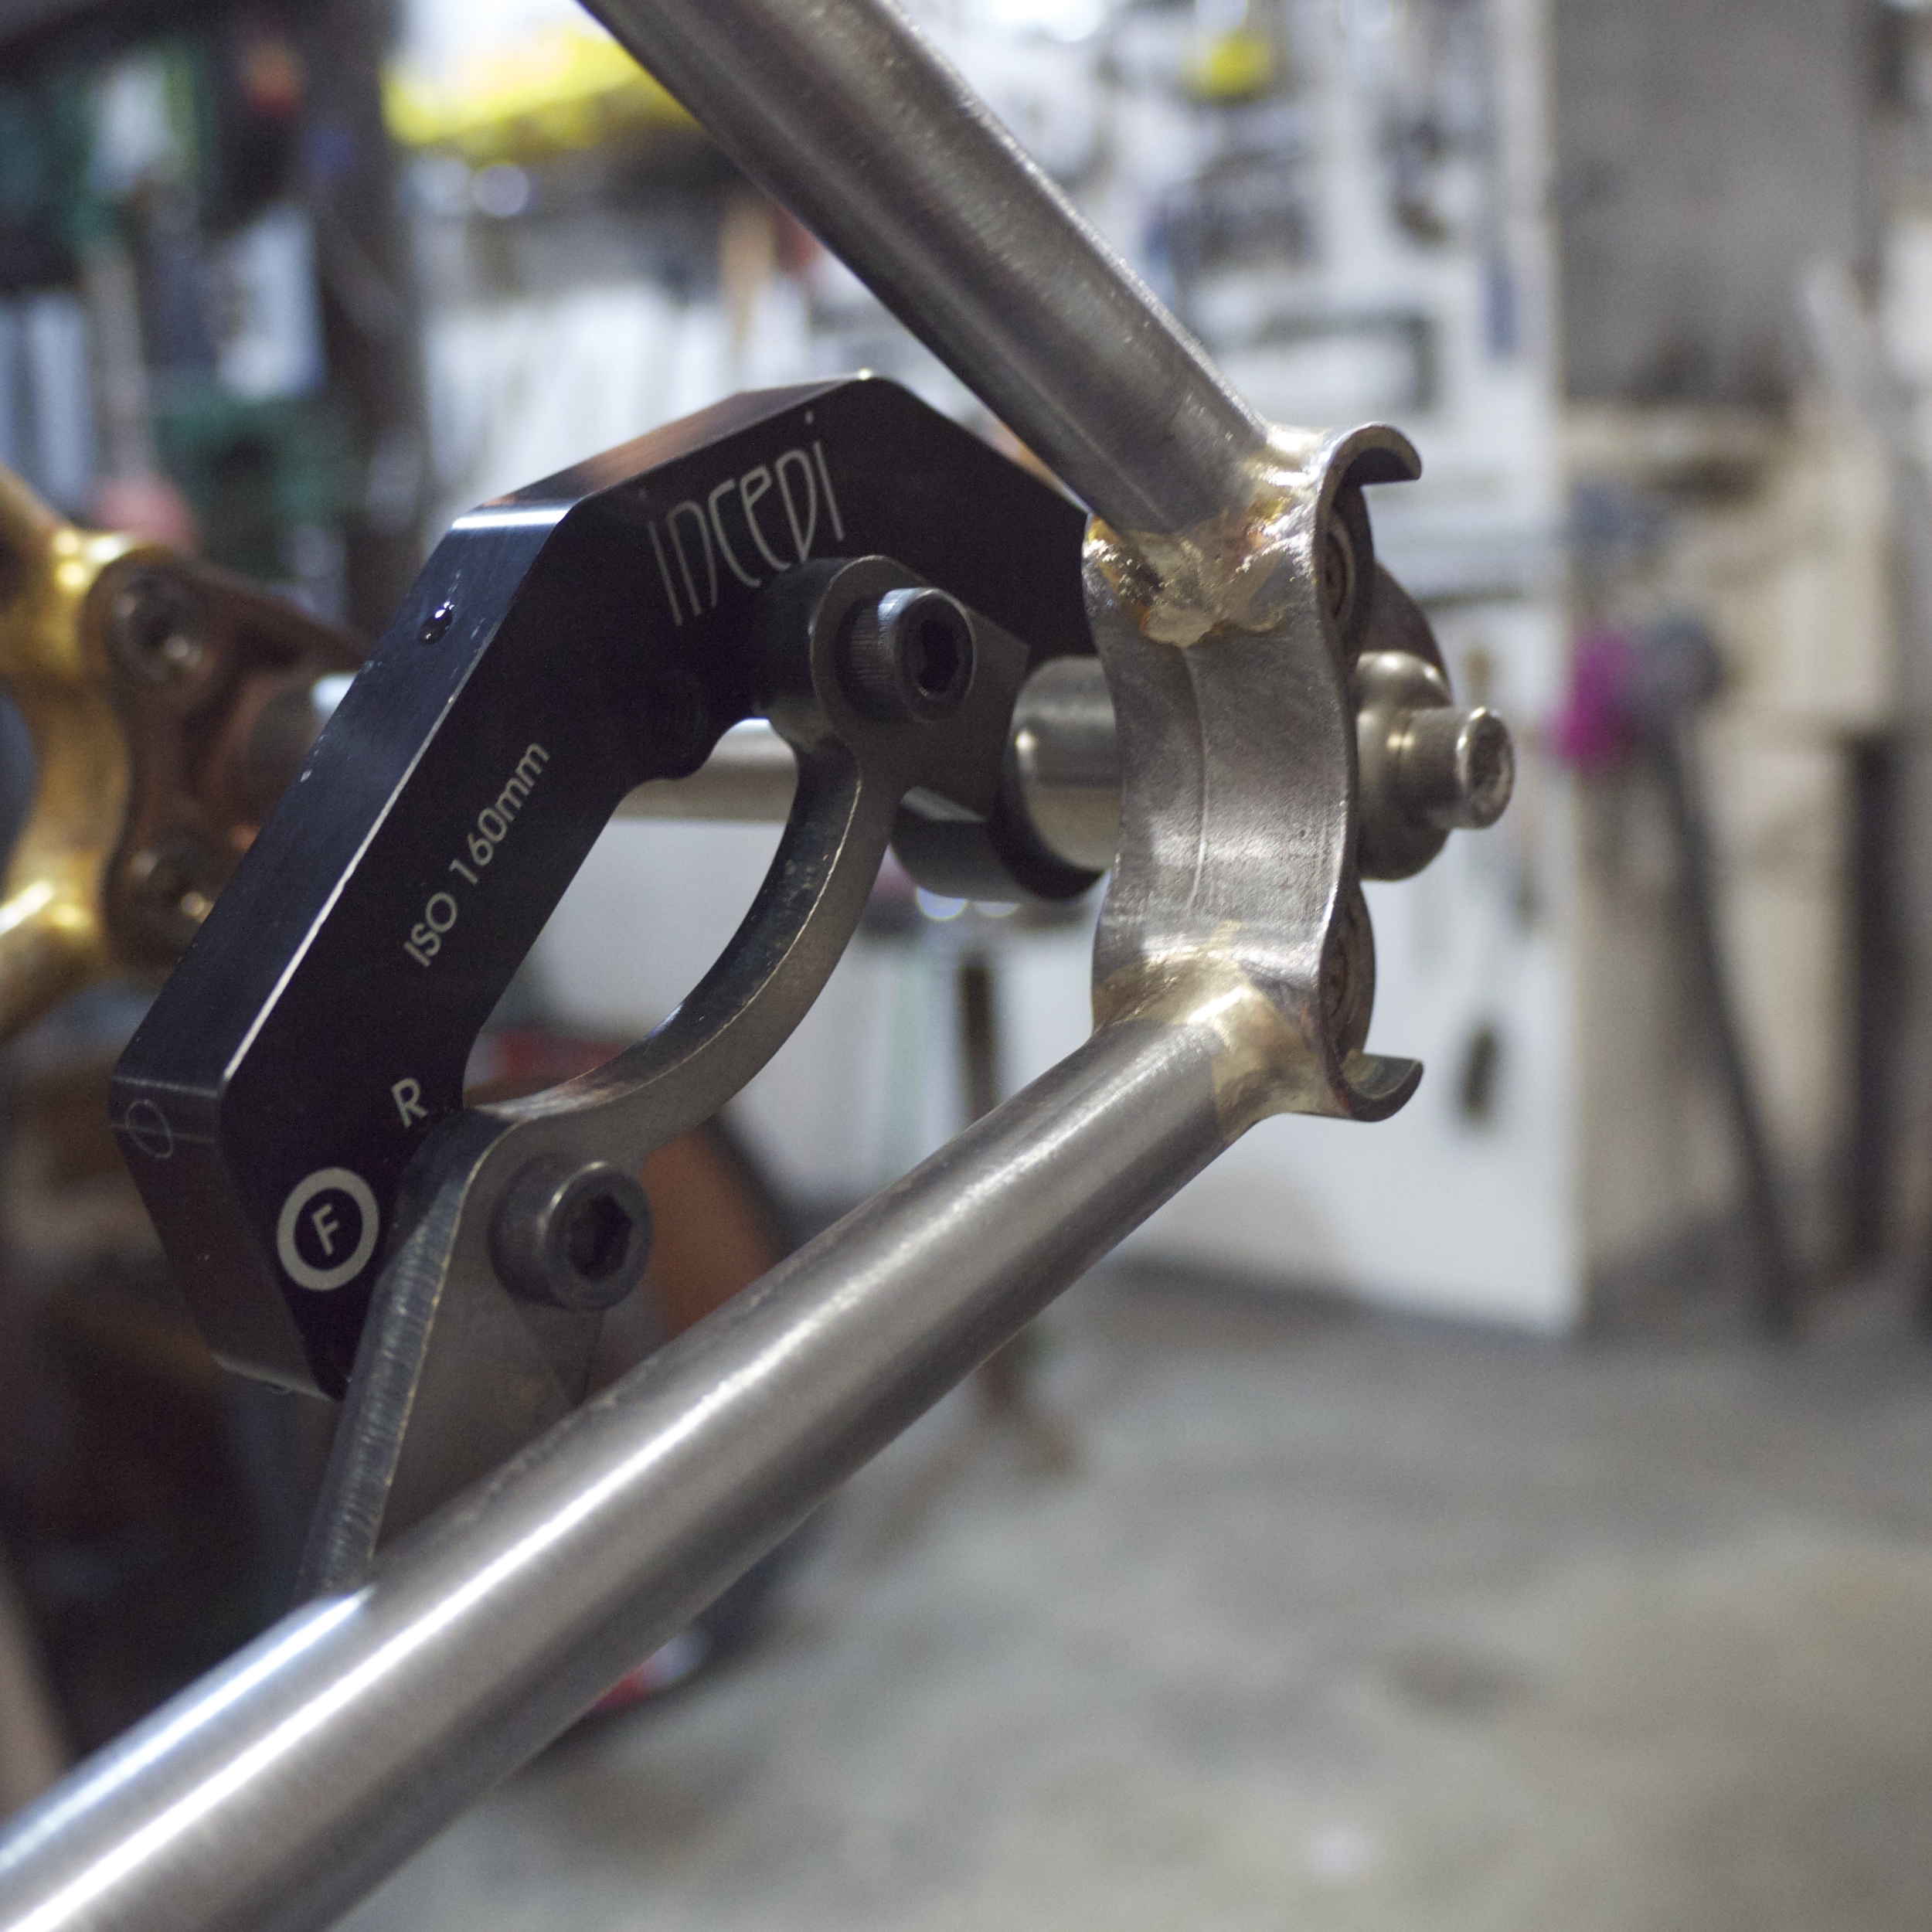
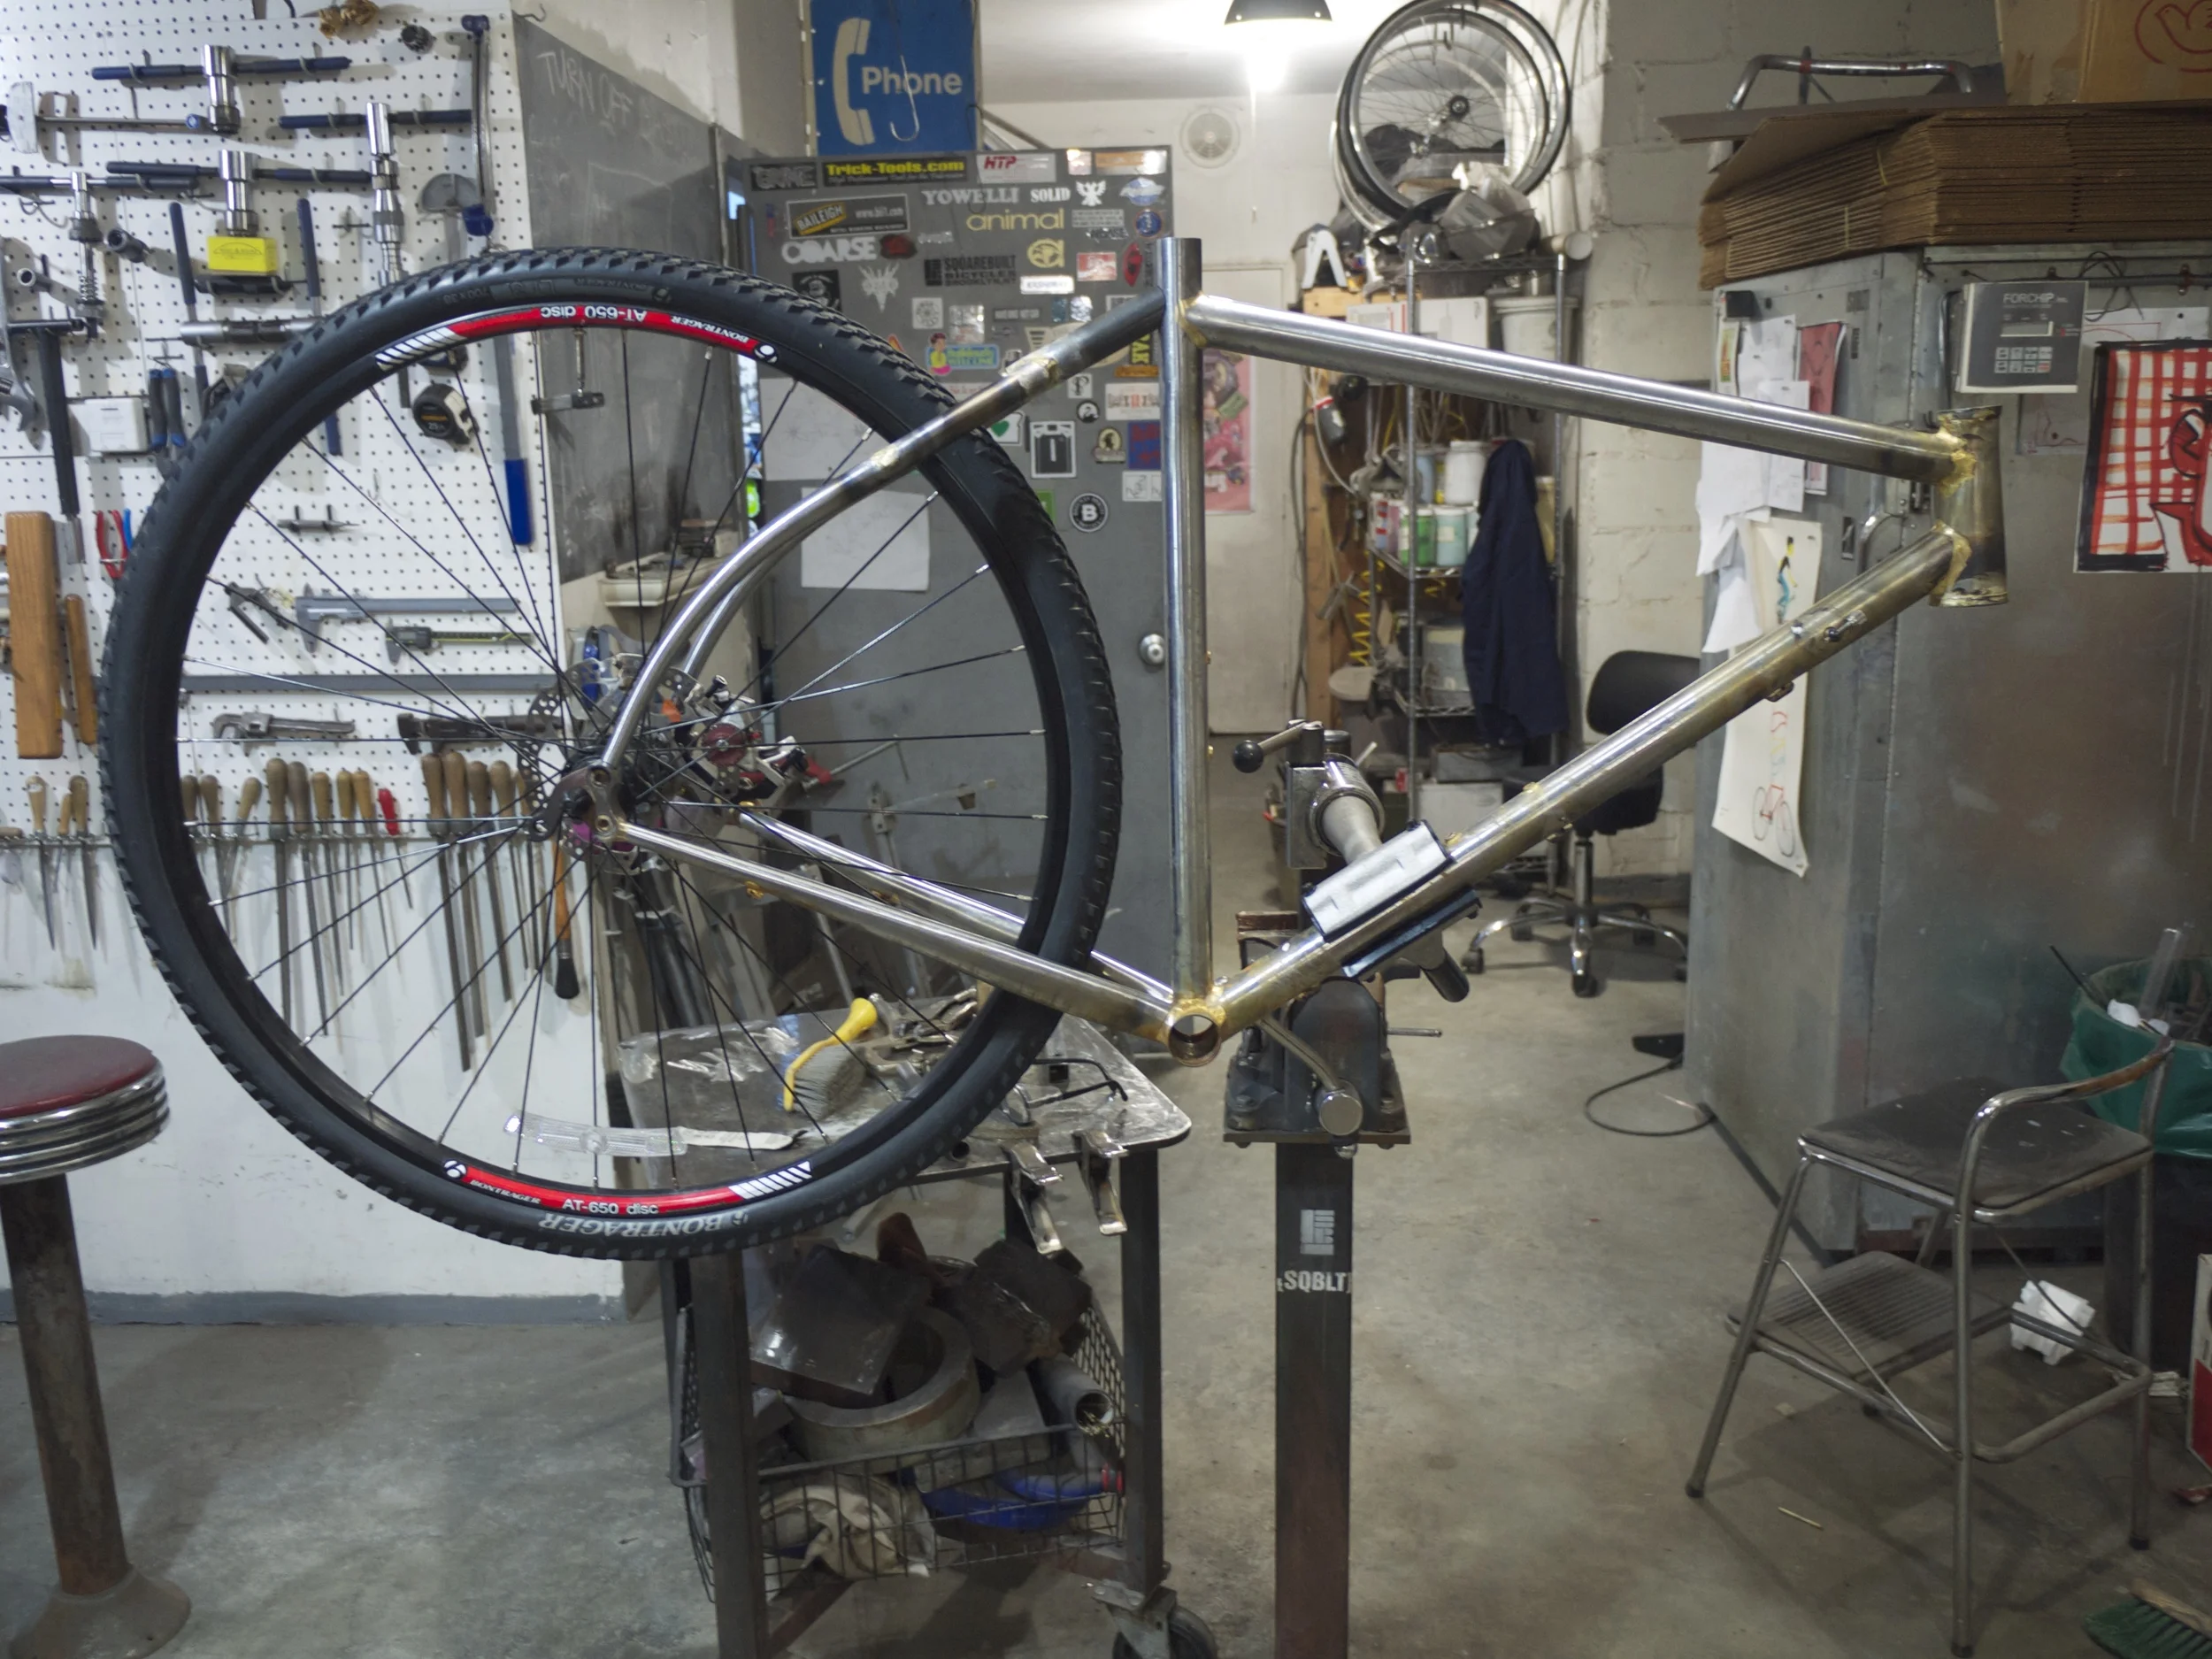
here is the subassembly in place, with the first steps of mitering underway. the central member of the wishbone subassembly will eventually be at the same height as the top tube. lots of clearance for the disc caliper now, even with the big 160 mm rotor on my dummy wheel:
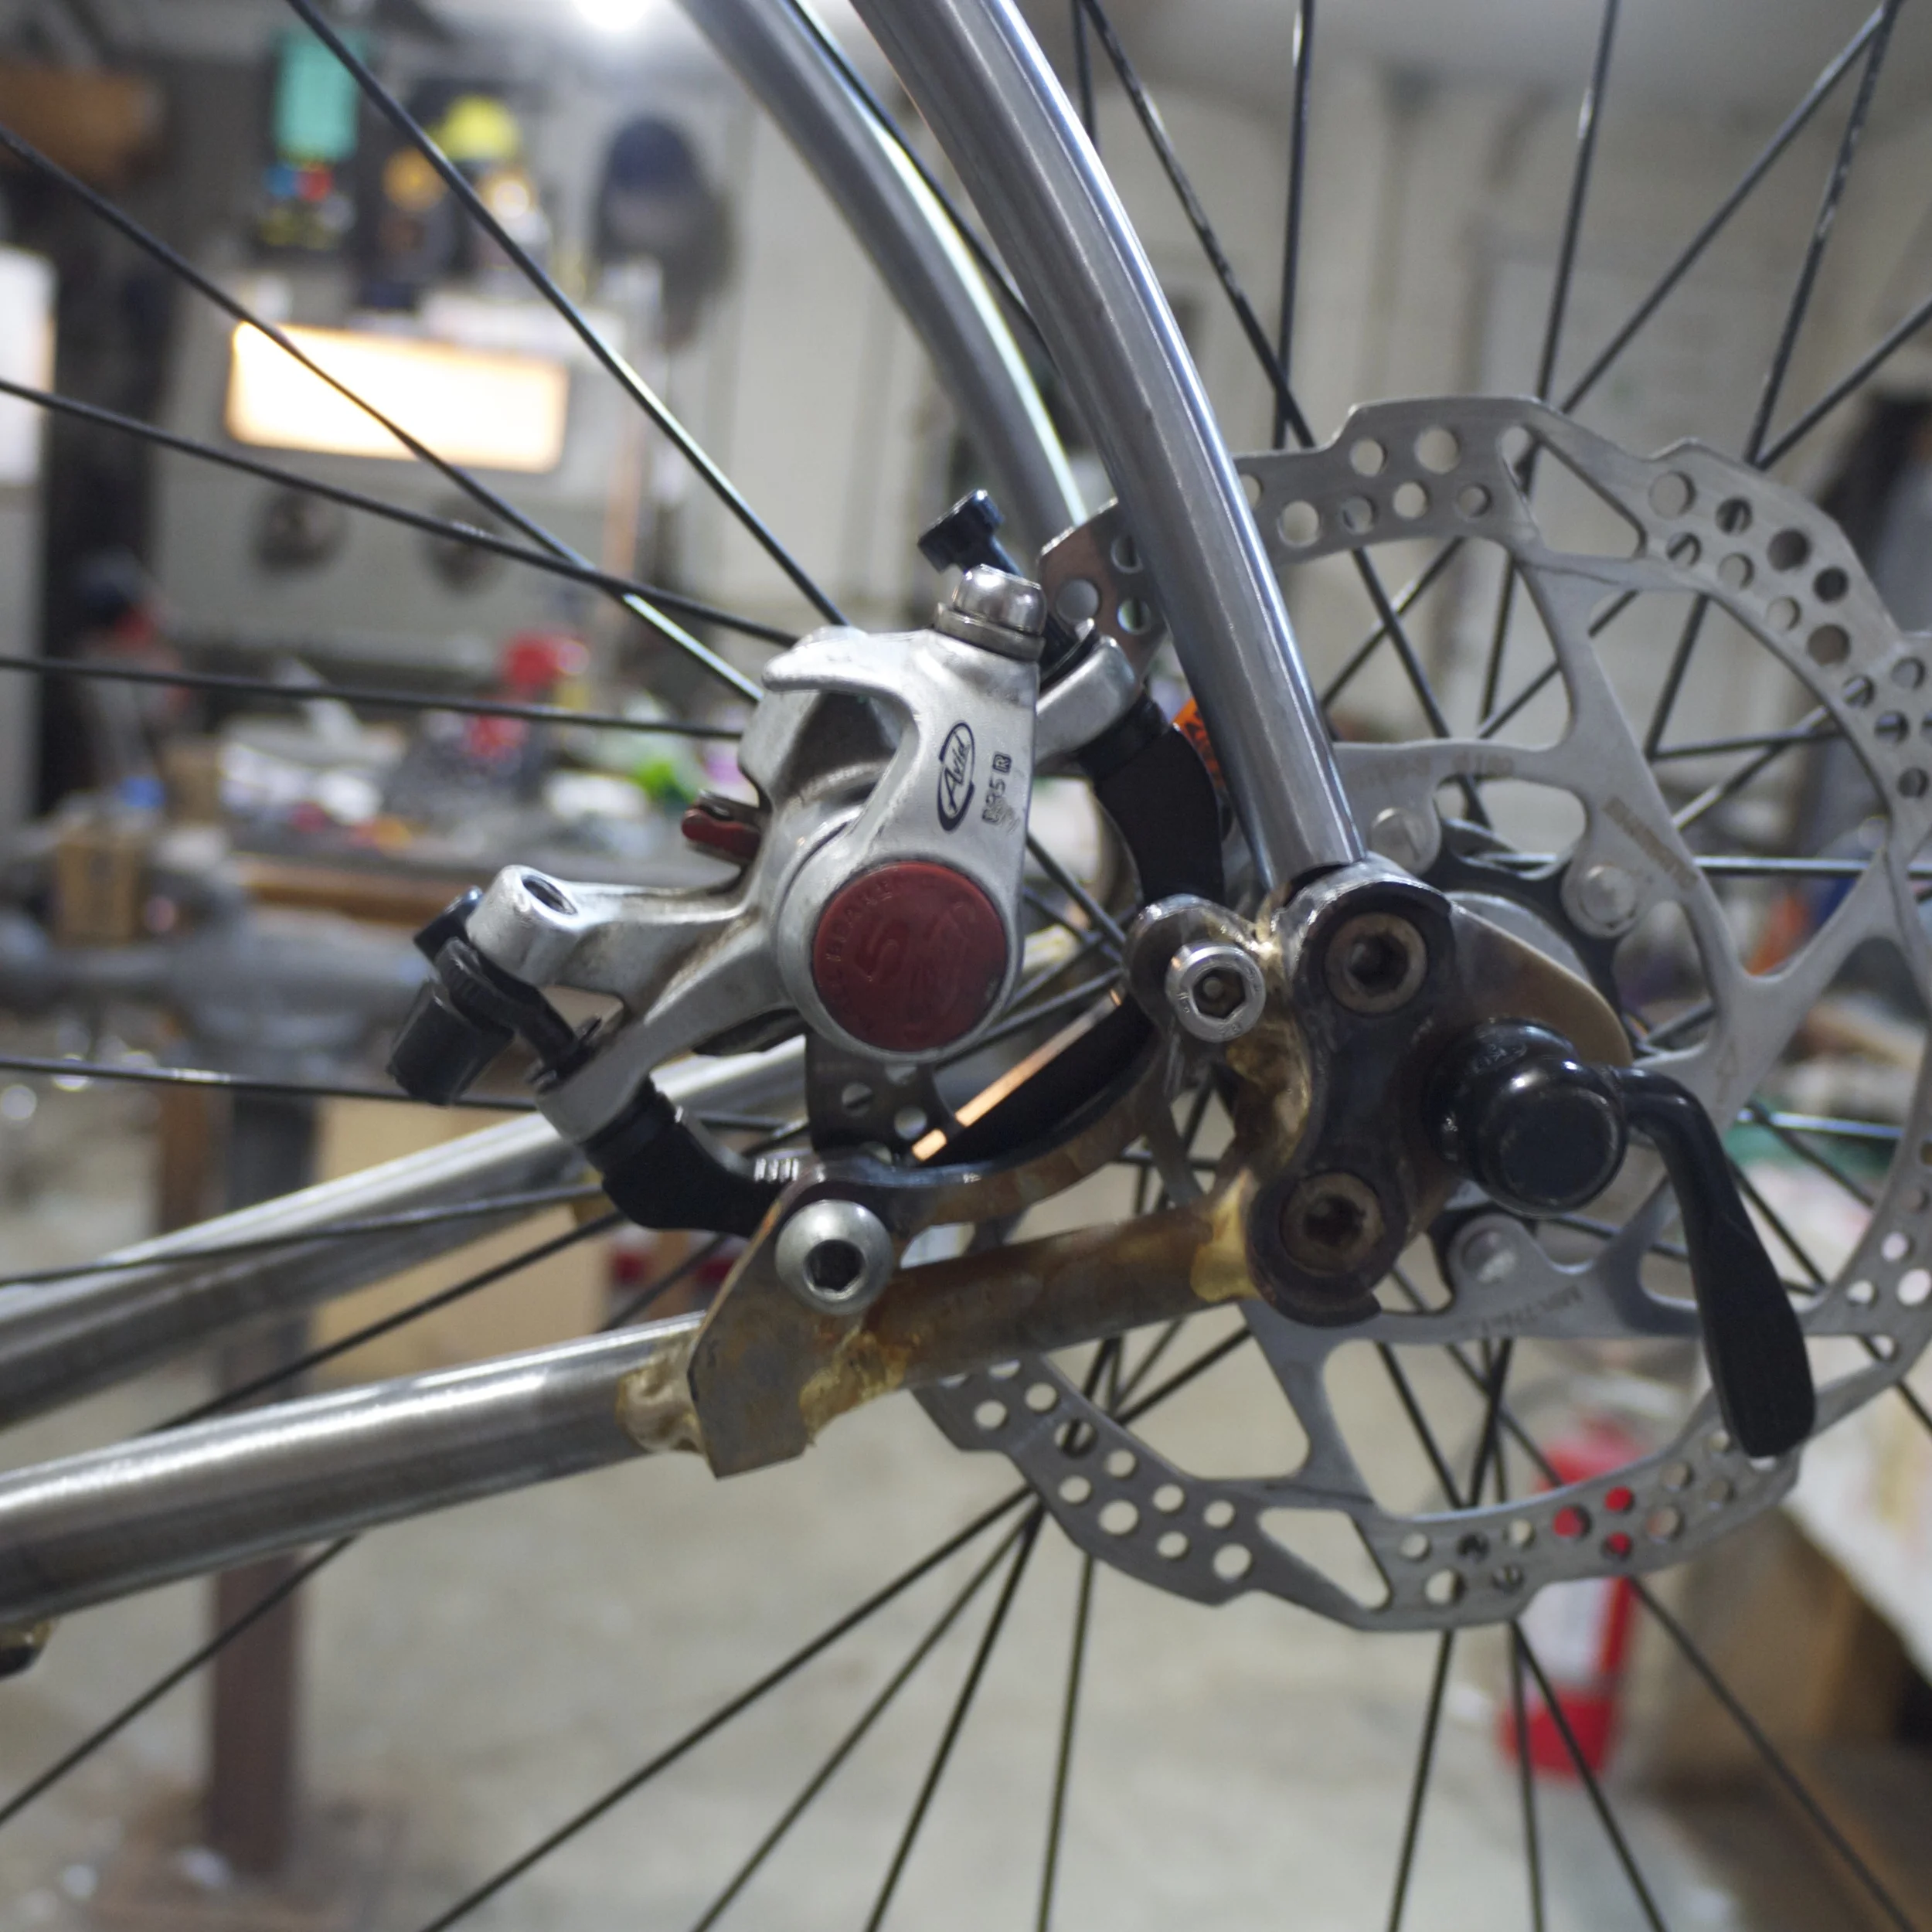
(forgive the sloppy appearance of the miter on the seat stay, it will be improved before brazing)
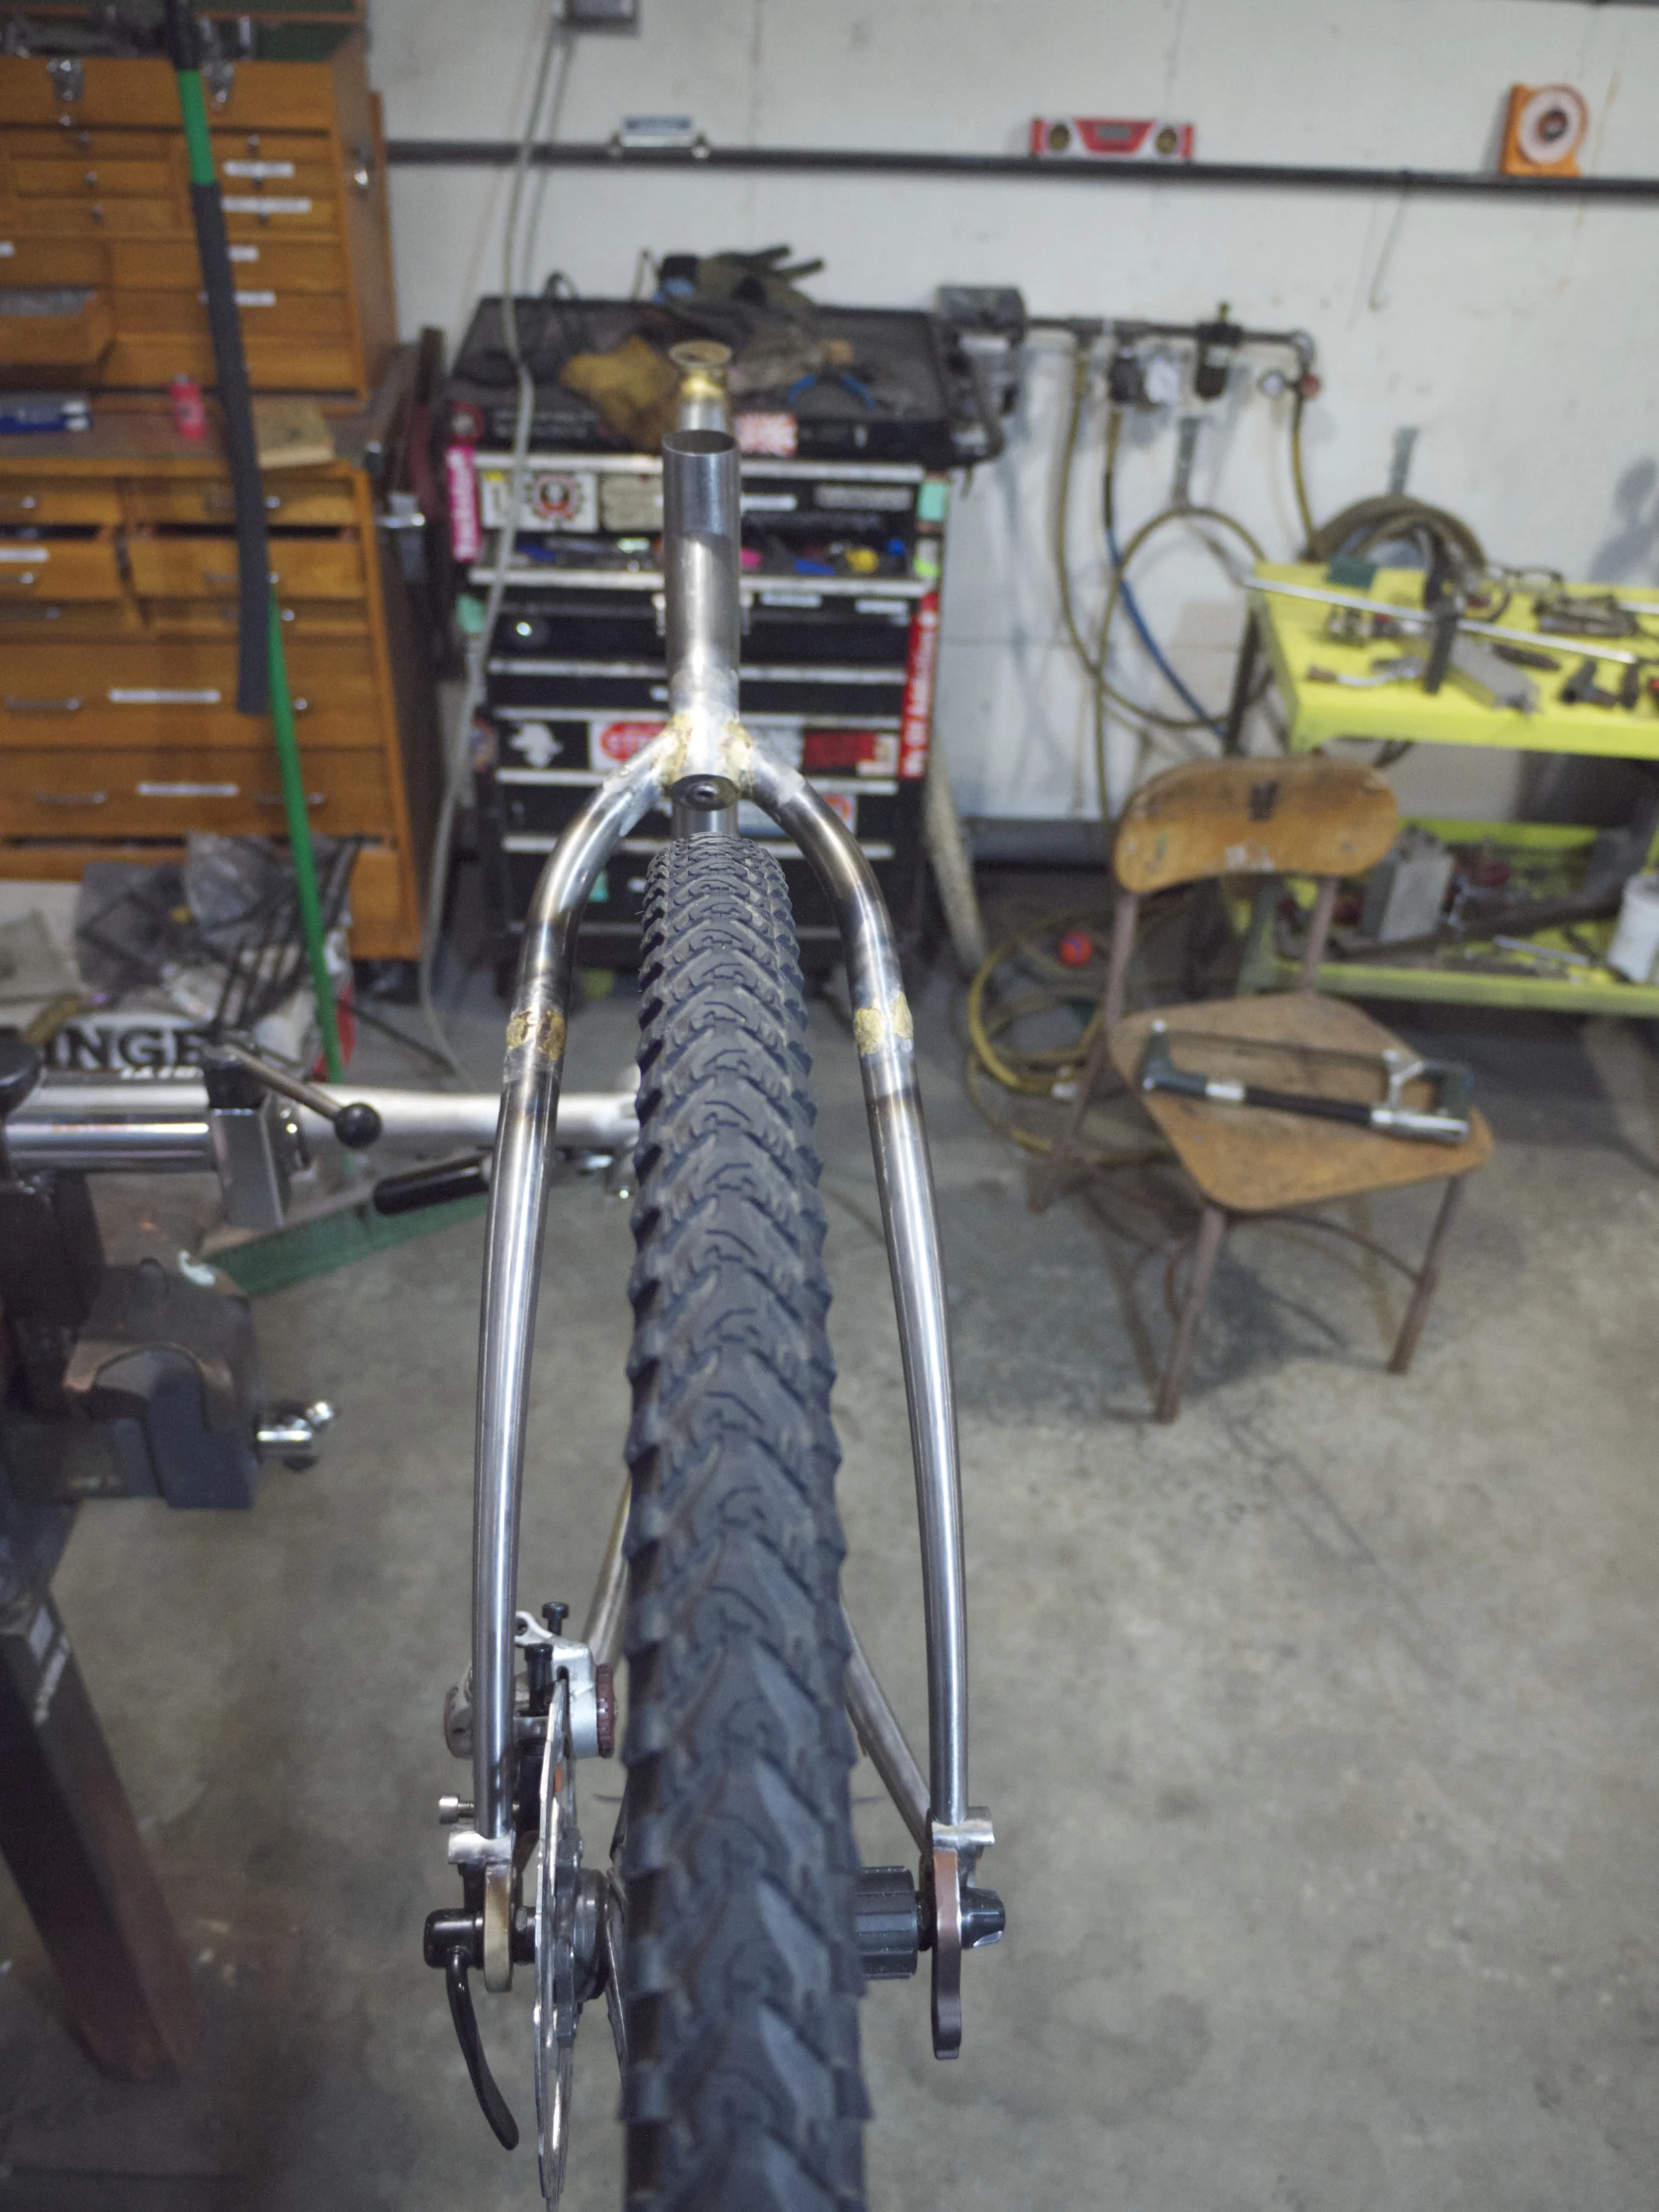
loads of space! and, just as cool, we now have loads of clearance for big tires and mud:
i brazed in a fender mount to the central member of the wishbone to make it easy and tidy if emily ends up wanting to run full coverage fenders. i will also do some fender/rack mounts down at the bottom once i braze it all together.
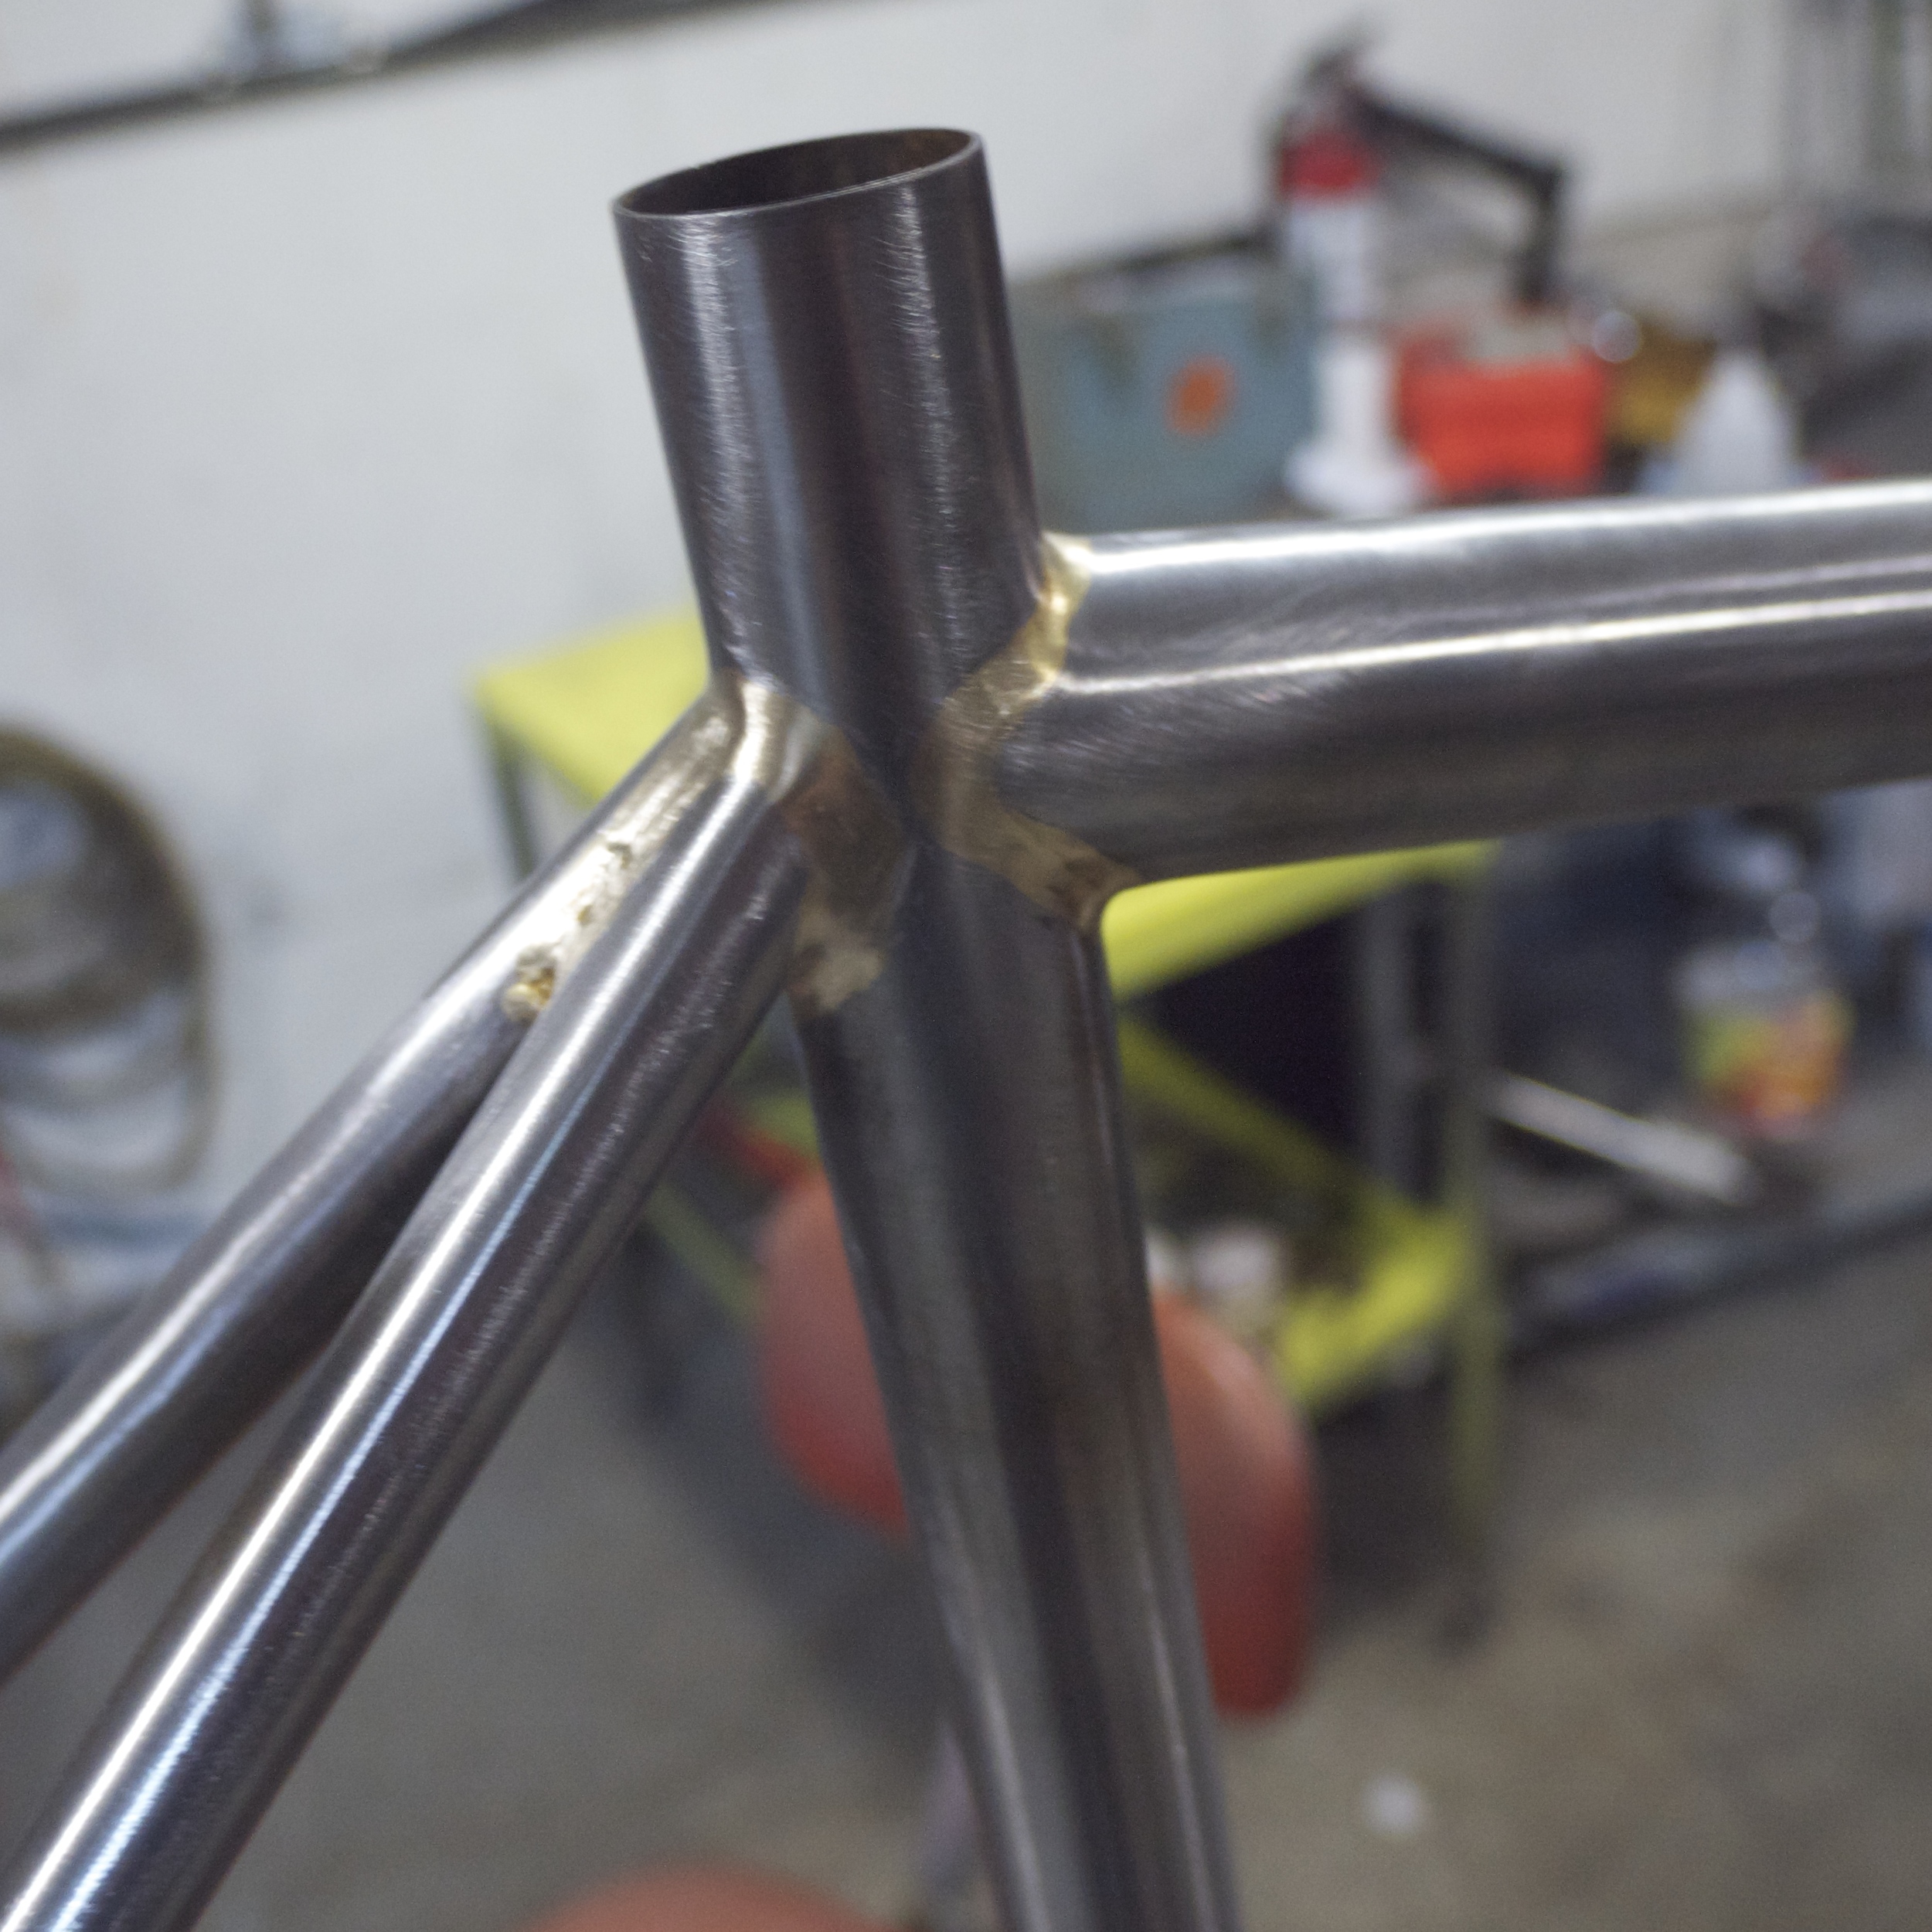
as much of a bummer as it was to have to cut out the stays i had just brazed in, it did provide me with a valuable opportunity to assess the inside of my joints:
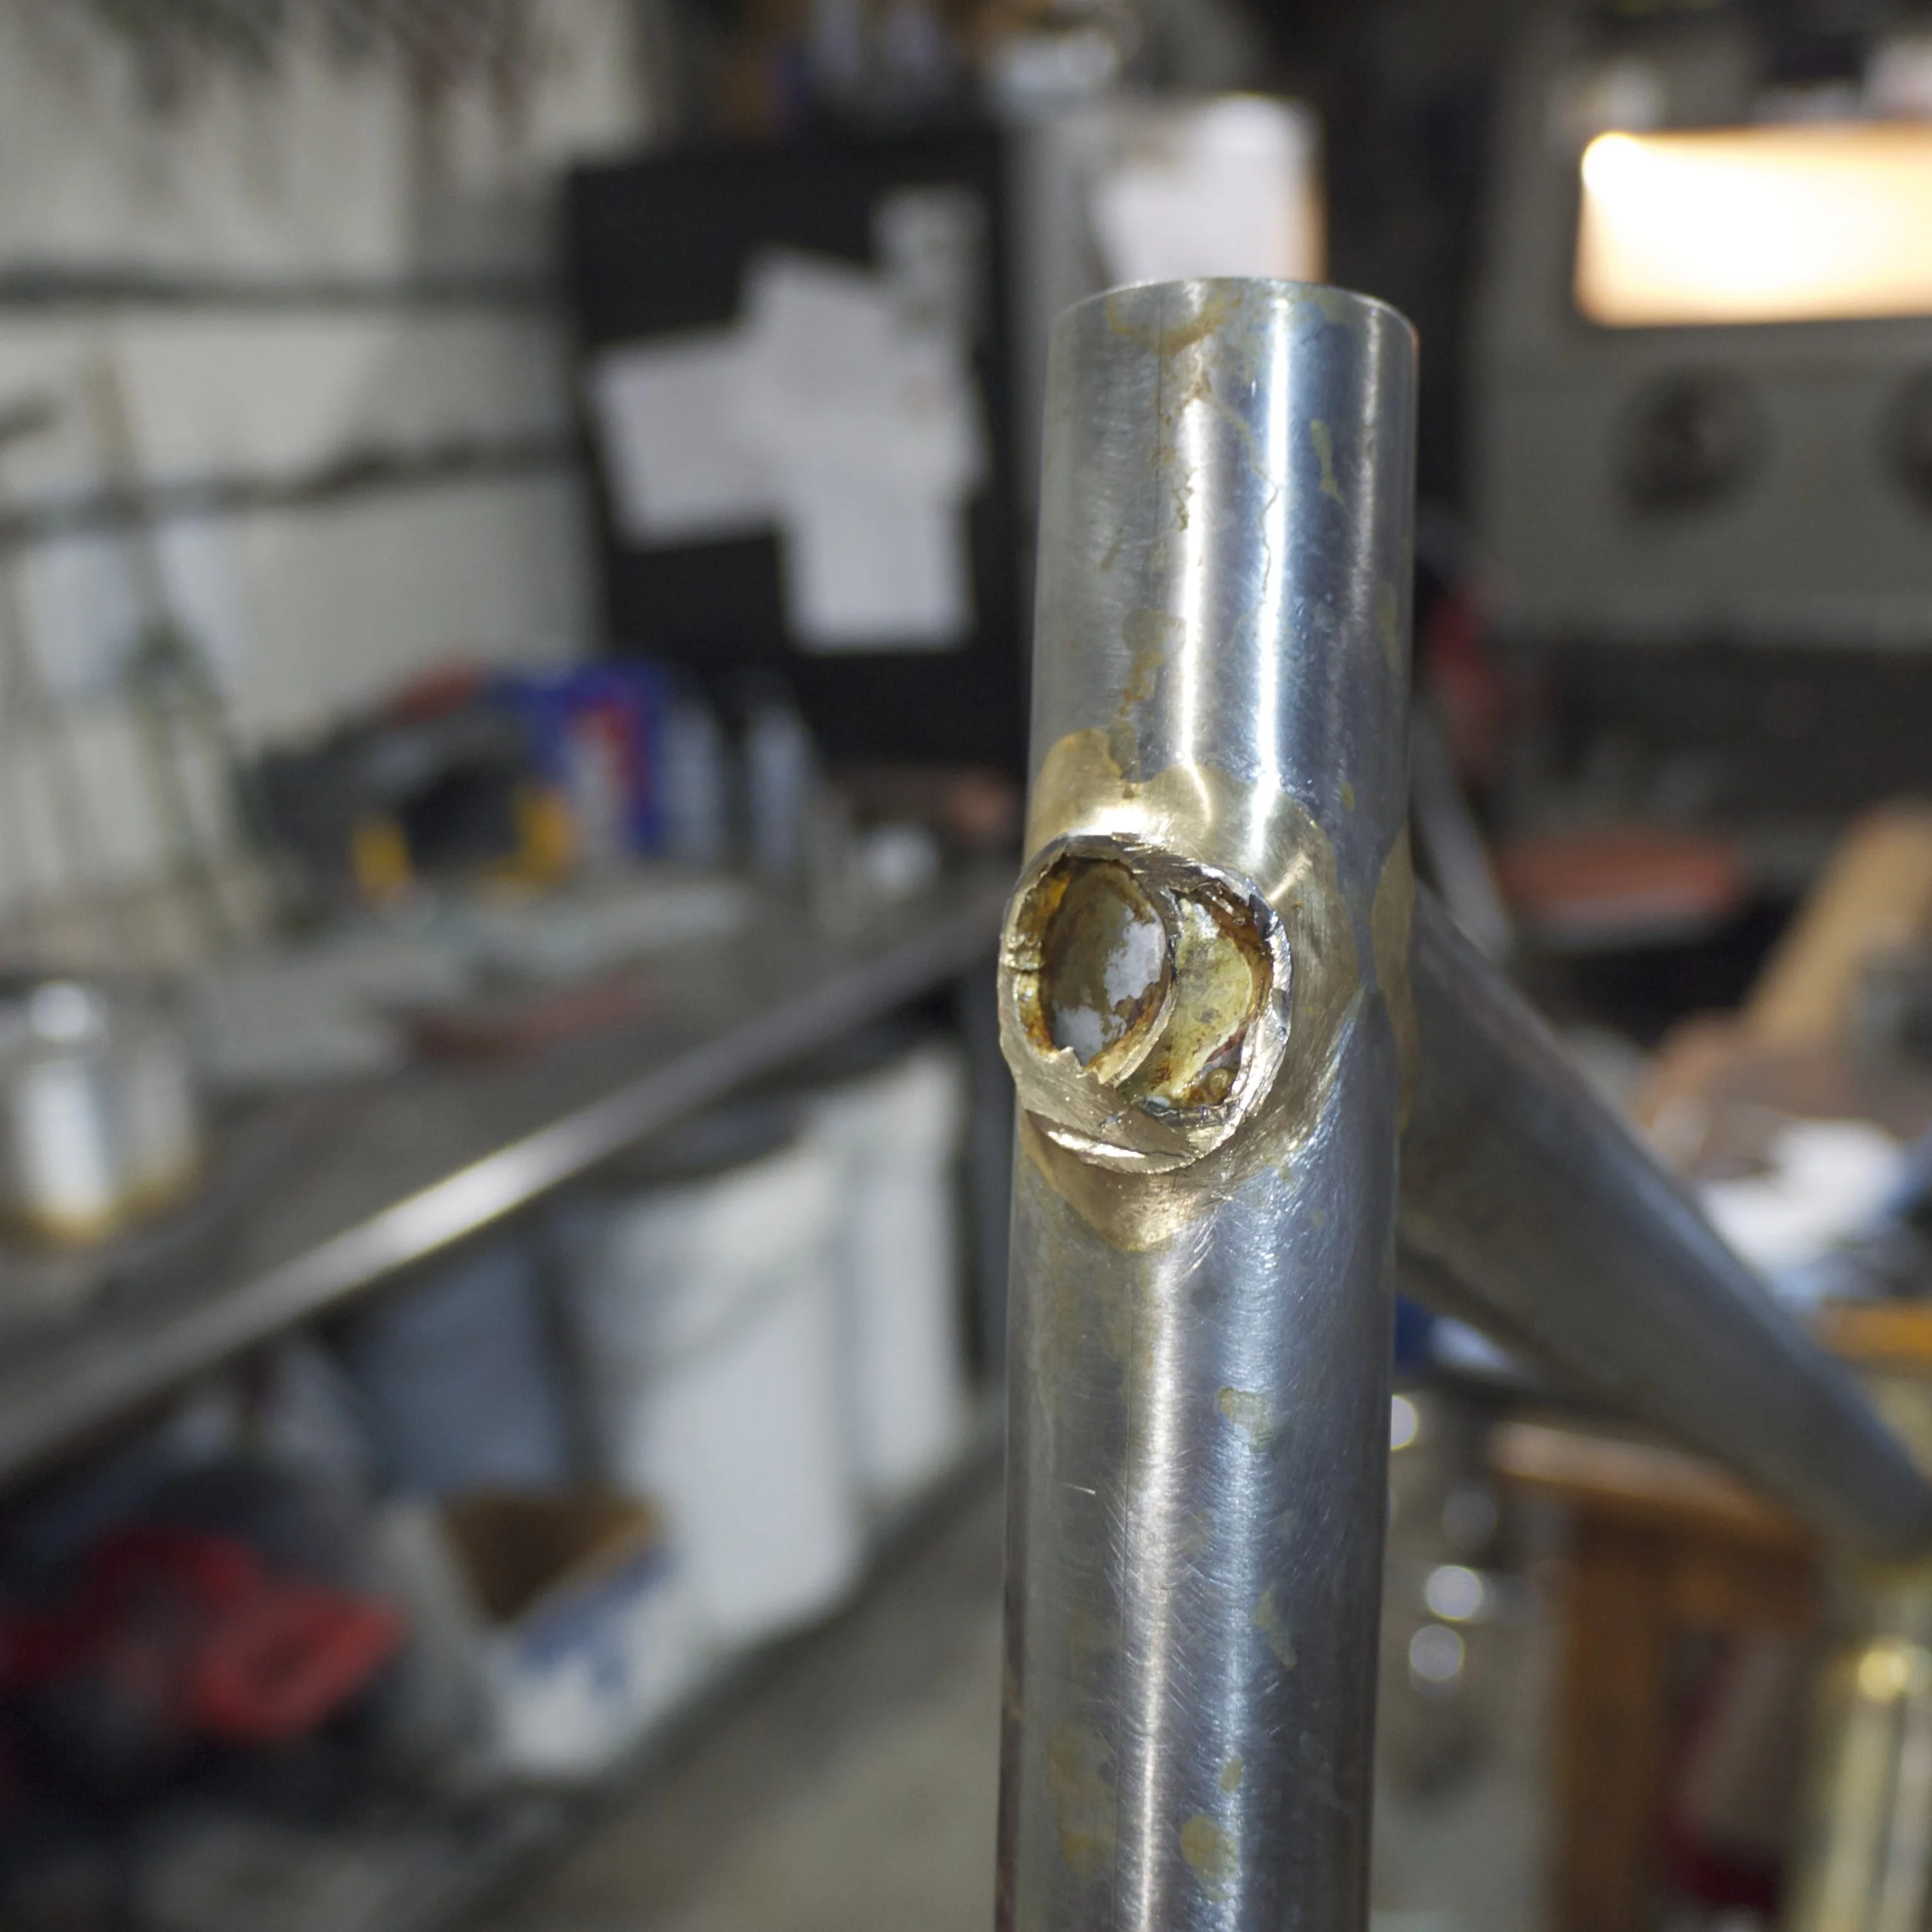
i was very pleased to see that there was no scorching on the inside and plenty of internal fillets. even though i heated the joint quite a bit to fill in the small center section, i was able to keep everything in the correct range of temperatures so that the brass ran smoothly and was able to penetrate the joint but did not get to the heat where it starts to burn. not too shabby!
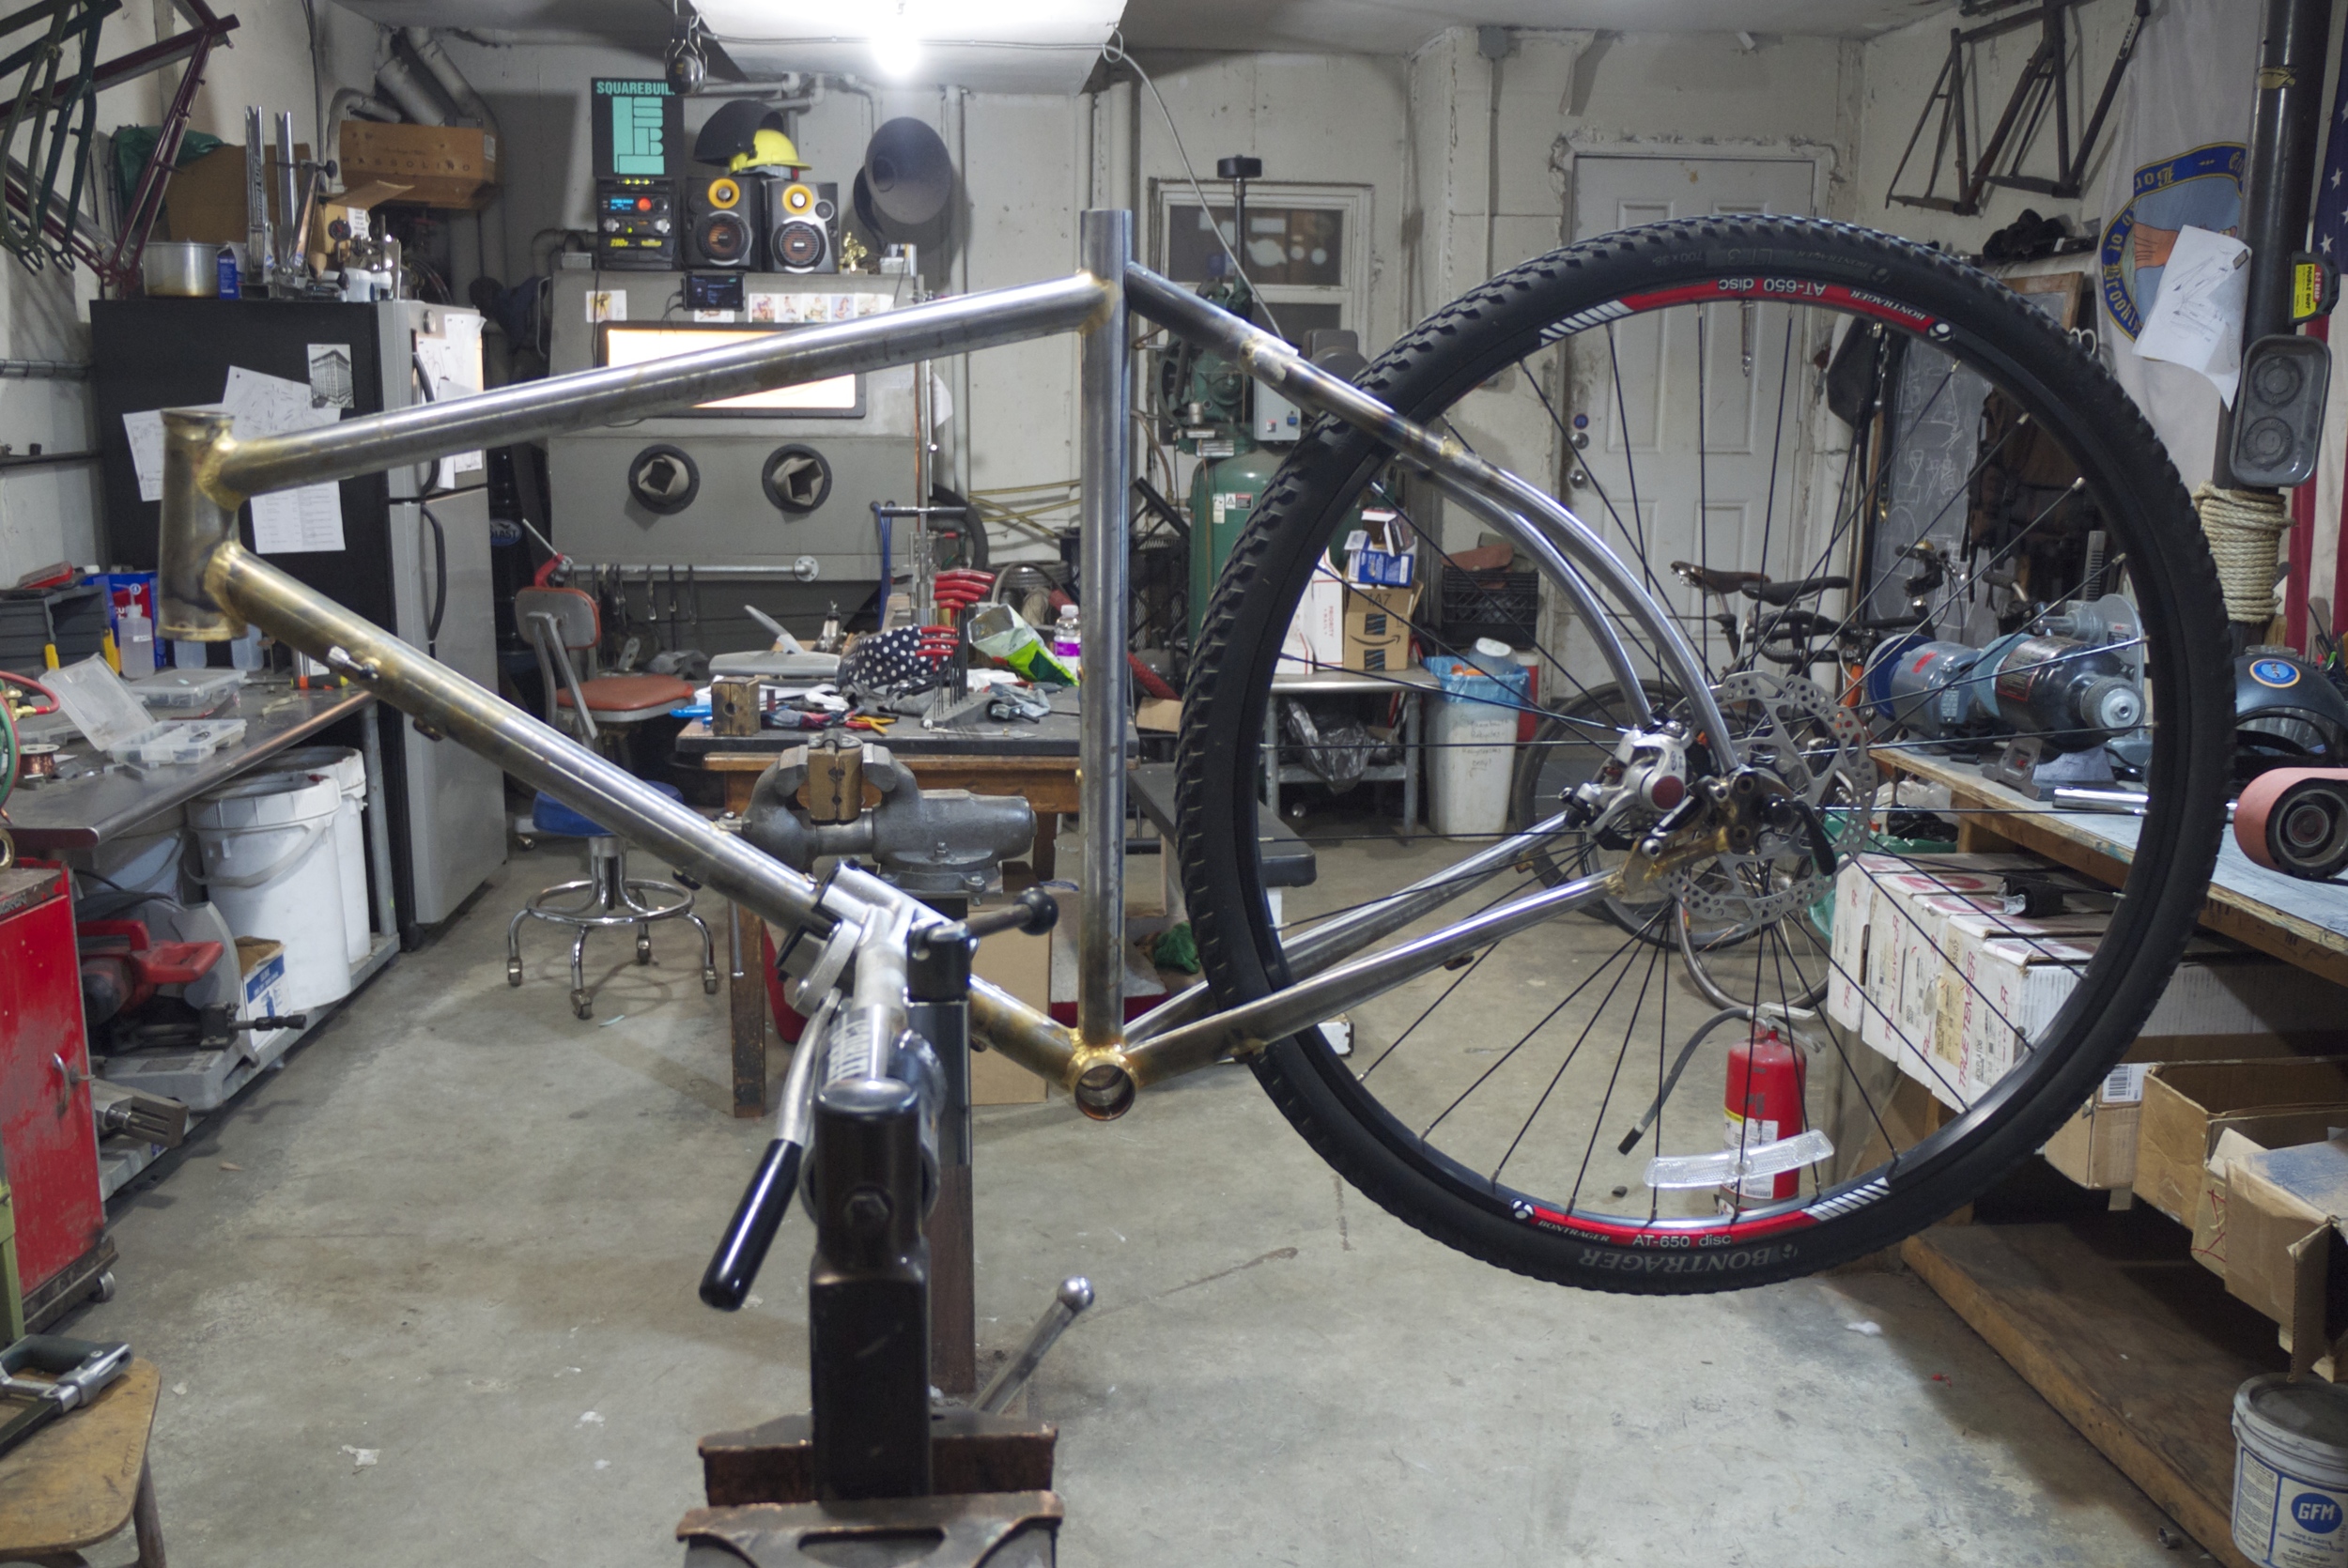
this week i hope to finalize the new rear triangle and also finish mitering the fork blades. i have one side of the fork pretty much ready to braze and the other still needs some work. i will leave you with one more glamour shot of the new configuration, as i am very happy with how it is coming together:
more news and photos soon!